
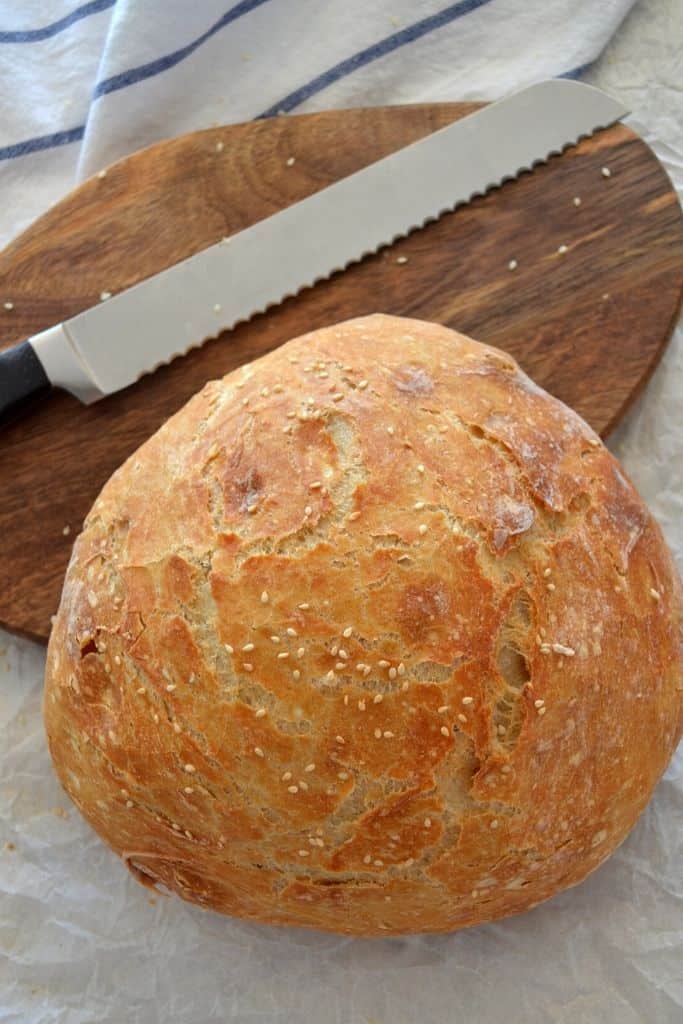
Easy Dutch Oven Bread (No-Knead Bread)
This easy no-knead is quick to prep and only requires 4 simple ingredients.
There is nothing like the smell of fresh oven-baked bread on a Sunday morning.
Why go to the bakery when you can find your inner baker?
*Don’t have a Dutch oven? No worries, this recipe is still for you; you can use two loaf pans instead!
A couple of years ago, the thought of baking bread would send me running for the hills. After finally giving it a go, I couldn’t believe I had waited so long.
If the fear of failure has been stopping you from trying, then this recipe is for you.
Easy to prep and easy to make, it’s the perfect starter bread!
Dense yet fluffy and remarkably moist, this bread seriously has it all.
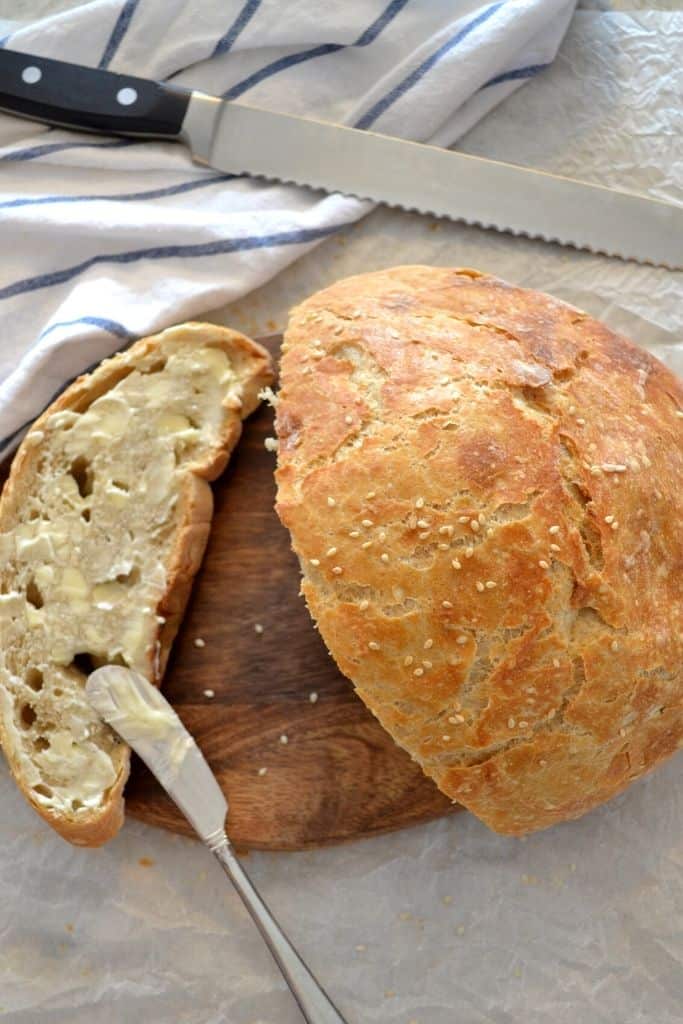
Also, never underestimate the sheer perfection of freshly baked bread and a slab of melting butter.
YOU WILL NEED THE FOLLOWING;
- All-purpose flour (or bread flour)
- Active Dry Yeast
- Water
- Salt
- Butter/Vegan Butter (optional)
1. GATHER UP YOUR DRY INGREDIENTS
Mix your flour, yeast, and salt in a large bowl. Make sure not to dump your salt and yeast directly on top of each other.
We want to avoid killing the yeast, so opposite ends of the bowl are fine until they are mixed in with the flour.
2. WATER TIME
Add in your warm water. Make sure your water is close to 120-130°F; warmer than that could kill your yeast and prevent your delicious bread to be from rising.
Another handy trick if you don’t have a thermometer (or like to wing it like me) is placing your hand under the running water.
We are looking for water that is quite warm but not uncomfortable for you to hold your hand under it.
If it’s too hot for your hand, then it’s too hot for your dough.
3. STIR AWAY
Stir the water into your dry ingredients until a sticky ball is formed.
Another great trick is using the thin handle on a wooden spoon to mix your ingredients; it acts similarly to a dough hook found on a stand mixer.
The dough will remain quite sticky, and hold a decent shape but still look a little bumpy; that is all normal.
4. COVER, REST, AND RELAX
Place the dough in the bowl of your choice with a dusting of flour on the bottom and cover tightly with plastic wrap.
I use my large Tupperware bowl with a lid and place some plastic wrap between the bowl and lid.
Place it in a warm place area (such as your turned-off oven) and let it rest for at least 8 hours.
The dough can be rested for up to 24 hours, but I usually use mine within 8-12 hours and have always had great results.
5. PREP YOUR DOUGH FOR THE OVEN
After a minimum of 8 hours, your dough should have risen quite high inside the bowl.
Sprinkle flour onto your clean countertop.
Use a spoon or the handle of your wooden spoon to remove the dough from the bowl onto the floured countertop.
Flour your hands and knead your dough 4-5 times so that the flour on the counter can nicely coat it and make it less sticky and easier to handle.
The dough will remain loose; do not expect a hard lump of dough.
This is not a classic bread recipe that requires endless kneading.
A few folds are needed for the dough to become less sticky and shape.
Once that is done, place a clean kitchen towel over the dough and set your timer for 30 minutes.
PREHEAT YOUR OVEN & DUTCH OVEN
Note: While your dough is resting on the counter, start preheating your oven to 450 degrees F.
Make sure to place your Dutch Oven (with its lid on) inside the oven during the preheating stage, this step should not be skipped.
Once the oven reaches the desired temperature and the 30 minutes of dough resting are over, carefully remove the Dutch Oven.
Remove the lid and sprinkle some flour or cornmeal at the bottom of the Dutch Oven.
Gently lift your dough and place it inside the Dutch Oven and place it inside a hot oven.
Your bread will need to be baked covered for 30 minutes and then an additional 15 minutes uncovered.
If you don’t own a Dutch Oven, then you can use 2 same-size loaf pans for baking your bread.
Place one onto the other, using the top one as a lid.
EXTRA OPTIONS
No-Knead Bread tends to be quite hard on the outside.
However, if you are looking for an even crunchier outer shell with a buttery flavor, try glazing your dough with some melted butter before popping it into the oven.
If you are looking for a softer outer shell, top your dough with a damp kitchen towel while cooling it on the rack.
This bread has many options; once you’ve tried your hand at it, get creative with some extra ingredients, like yummy sesame seeds on top.
Some common classics to mix into the dough would be some fresh herbs or parmesan cheese.
Interested in making your bread even prettier? Look into scoring the top of your bread with a knife or blade into some beautiful designs.
COOLING AND EATING TIME
Once the bread has finished baking, remove it from the Dutch Oven and place it on a cooling rack.
It is always best to let the bread cool completely, but given my love of warm bread with melting butter, that tip is one I often break myself.
If you can resist, let it cool as long as possible for the best results, but it will be delicious regardless.
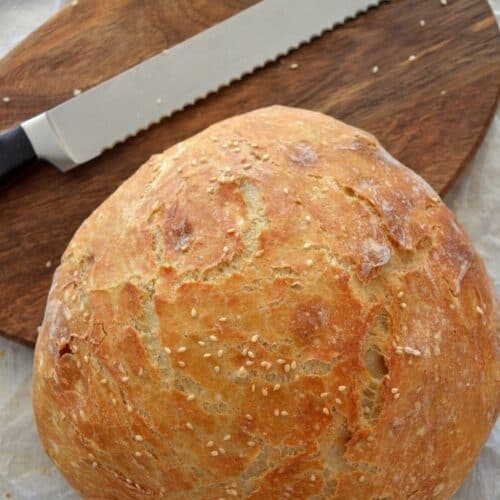
EASY DUTCH OVEN BREAD (NO-KNEAD BREAD)
Equipment
- Oven
Ingredients
- 3 cups All-purpose flour
- 1.5 cup Warm water
- 1 tsp Salt
- 1/2 tsp Active dry yeast
Instructions
- Measure out your flour, yeast, salt and water.
- Add your dry ingredients into a large bowl or tupperware. Try to avoid pouring the salt and yeast right on top of each other.
- Pour in your warm water and mix until all your ingredients are combined. Do not overwork the dough.
- Place plastic wrap over your bowl and make a nice seal. You can additonally add a dishcloth on top or your Tupperware lid for double protection.
- Place your bowl in a warm area for 8-24 hours
- Preheat your oven to 450°F on the Bake setting. Make sure your Dutch Oven (with lid on) is inside the oven duirng the pre-heating portion.
- Remove your now risen dough and place it onto a floured countertop. Add some flour onto the dough and gently knead 4-5 times until its not so ticky and can be picked up without leaving dough on your hands.
- Place a clean dishcloth over you dough and let it rest on the counter while the oven pre-heats (for about 30 minutes).
- Carefully remove your now hot Dutch Oven, add a little flour or cornmeal on the bottom and add your bread dough inside.
- Let your bread bake for 30 minutes, afterwards carefully remove the lid and let your bread bake for another 15 minutes until goldne brown.
- You can additonally add some sesame seeds on top of your dough before popping into the oven or some melted butter/vegan butter for an extra crisunchy exterior.