
Easy Instant Pot Pumpkin Puree – No Peeling, No Cutting Method
Did you know you could make instant pot pumpkin puree without the hassle of peeling or chopping through that hard pumpkin exterior?
Like many people, I love using pumpkin year-round.
Whenever I head to the States from Canada for grocery shopping, I definitely love to stock up on my cans of pumpkin puree.
But during the fall season, when pumpkins are everywhere in sight, I love to make my own homemade jars to enjoy in muffins and pancakes and all the things pumpkin!!
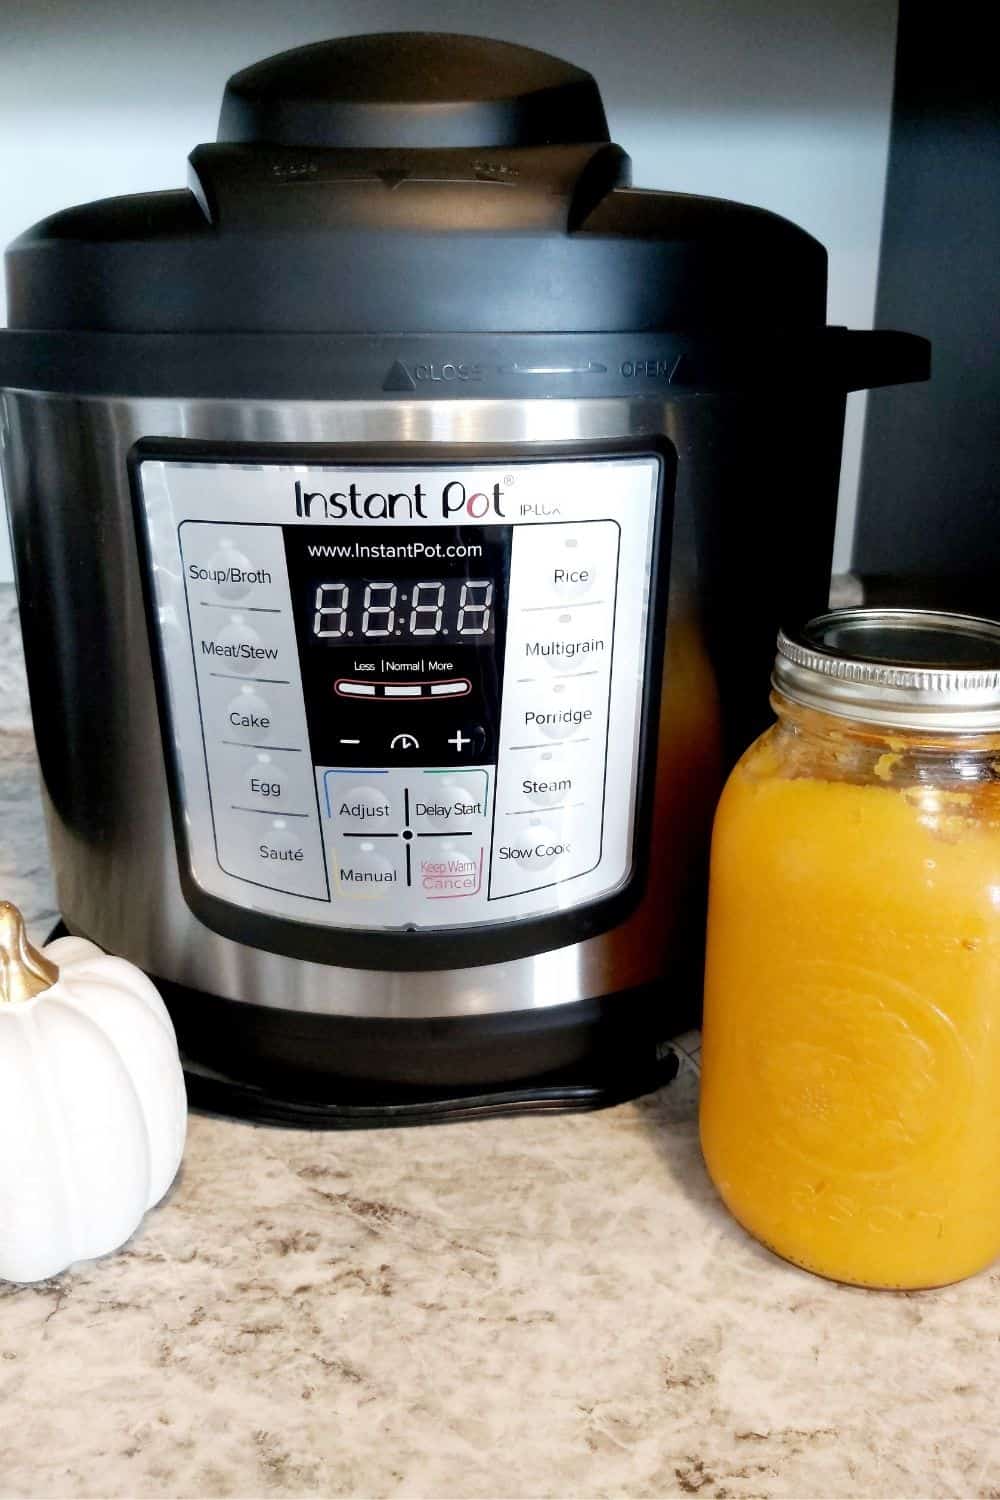
If you are an avid Instant Pot user, you know how life-changing this kitchen appliance can be.
And if you are new to the Instant Pot or pressure cooker world, never fear; there are plenty of people around to guide on how to use them to make yummy easy recipes for your family.
This is a super easy recipe, so let’s waste no more time and get to Instant Potting!
INSTANT POT PUMPKIN PUREE INSTRUCTIONS
- Wash the exterior of your pie pumpkin or sugar pumpkin (Make sure your pumpkin fits inside of your pot without passing the top of the rim
- Cut off or break off as much of the stem as you can (be careful if using a knife)
- Place your metal trivet at the bottom of your instant pot insert
- Add one and a half cups of water to the bottom
- Place your pumpkin onto the metal trivet
- Add your lid and close it. Set the gasket to “sealing” mode
- Press the “Manual” mode and adjust the time to 15 minutes
- When finished, allow the Instant Pot to do a Natural Release (basically, let it sit idle when the 15 minutes ends until the pin releases)
- Allow the pumpkin to cool for at least 15 minutes, and then carefully remove the pumpkin from the Instant Pot
- Process the cooked pumpkin in your preferred method. An easy way is to cut a hole out of the top and scoop out the seeds to limit the mess (but save those bad boys to make yummy ranch pumpkin seeds).
- Mash the pumpkin flesh with a fork if you want a thicker texture, or pop it into your blender and blend away until you have the desired consistency.
Note: The 15 timing worked well for a 4lb pumpkin in my 8-quart model. You may need a couple of additional minutes if using a much larger pumpkin in your pot. Also, some pumpkins are just harder than others.
You can test your pumpkin with a fork once the Natural Release is finished; if you find it a little hard, you can do the Manual mode again for a few more minutes.
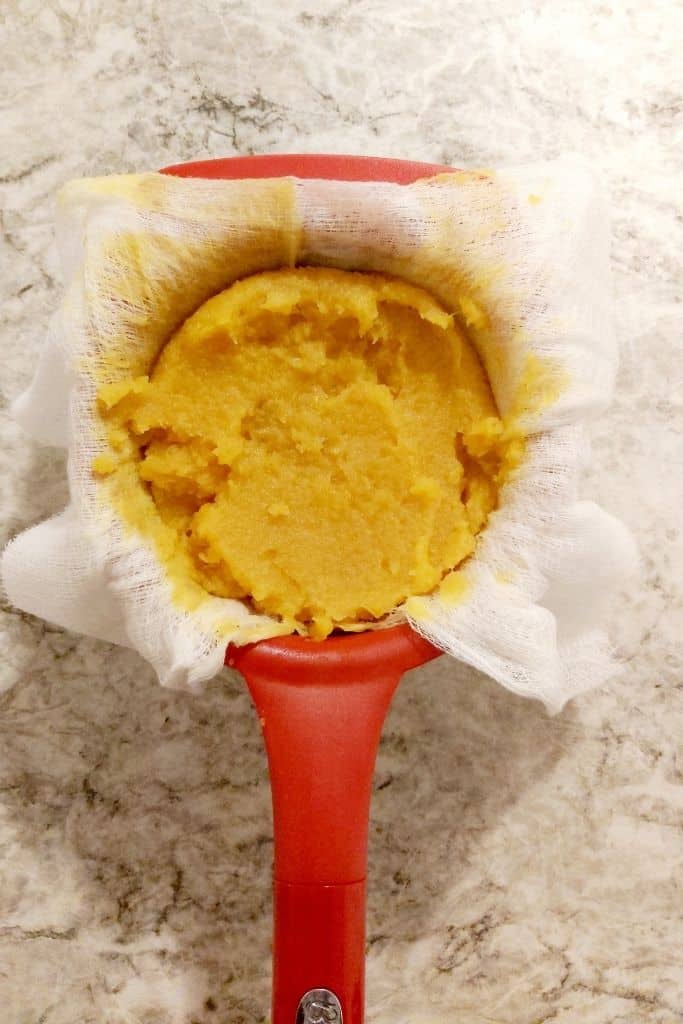
*Keep in mind that homemade pumpkin puree contains more water than canned puree.
Grab some cheesecloth and place it over a fine-mesh strainer.
You want to let that drain for a good 1-2 hours so that the maximum amount of fluid can strain out until the homemade puree is much firmer in texture.
REFRIGERATION & FREEZING
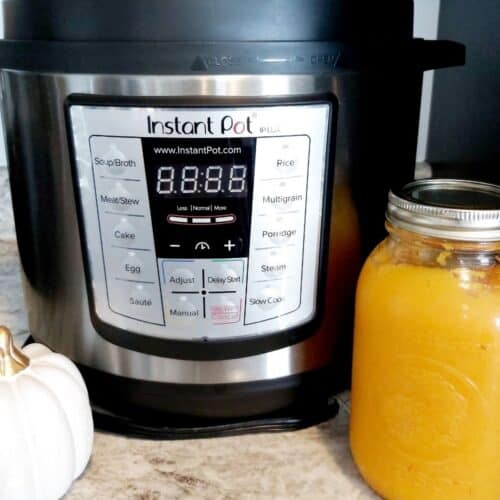
Refrigerate your pumpkin puree in an airtight container, such as a glass mason jar, and keep it in the fridge for up to 5 days.
If you prefer to freeze it, grab some freezer bags, flatten it (space-saving technique), and freeze it for up to 3 months for the best quality.
You can always use it afterward, but the quality may not be at its highest after the 3-month period.
LOOKING FOR WAYS TO USE UP YOUR INSTANT POT PUMPKIN PUREE?
Try these delicious vegan pumpkin pancakes.
EASY INSTANT POT PUMPKIN PUREE – NO PEEL-CUT METHOD
Equipment
- Instant Pot
Ingredients
- 1 Pumpkin (around 4 lbs)
- 1.5 cup Water
Instructions
- Wash the exterior of your pie pumpkin or sugar pumpkin (Make sure your pumpkin fits inside of your pot without passing the top of the rim.
- Cut off or break off as much of the stem as you can (be careful if using a knife)
- Place your metal trivet at the bottom of your instant pot insert
- Add in one and half cups of water to the bottom
- Place your pumpkin onto of the metal trivet
- Add your lid and close it. Set the gasket to "sealing" mode
- Press the "Manual" mode and adjust the time to 15 minutes
- When finished, allow the Instant Pot to do a Natural Release (basically let it sit idle when the 15 minutes ends until the pin releases)
- Allow to cool for at least 15 minutes and then carefully remove the pumpkin from the Instant Pot
- Process the cooked pumpkin in your preferred method. An easy way is to cut a hole out of the top and scoop out the seeds to limit the mess
- Mash the pumpkin flesh with a fork if you want a thicker texture or pop into your blender and blend away until you have the desired consistency